wifes hair die
Results 11 to 20 of 35
-
02-01-2010, 09:43 PM #11I am a Forum User


- Join Date
- Jan 2009
- Location
- GOD BLESS
- Posts
- 12,114
-
02-01-2010, 09:54 PM #12I am a Forum User


- Join Date
- Feb 2008
- Location
- brighton
- Posts
- 1,232
yup those were the ones but they came from a different supplier. Really the best way to go. Originally Posted by boganz45
-
02-01-2010, 10:08 PM #13
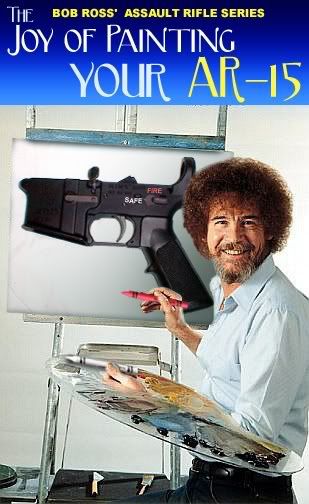
I used a toothpick and some model paint. I did the Safe/Fire and the Stag emblem on my AR.
"Men that are real shoot a gun with a wheel" John Boland
"My gun protects your rights" Hi-Point
"Handgun bans hinder the ability to defend self and family" our past fearless leader Ed Hoffman
"Don't buy a box of cereal expecting some big and fancy toy" remingtondude58 (Inspired by Mike Grace)
-
02-01-2010, 10:15 PM #14I am a Forum User


- Join Date
- May 2009
- Location
- Livonia
- Posts
- 109
Sharpie is removed with cleaning solvent, and lubes. An enamel paint would work.
-
02-01-2010, 10:19 PM #15not a bad idea... but isn't that model paint enamel? kinda hard to clean up unless u use lacquer thinner which could perhaps damage the finish on the lower.....?
 Originally Posted by remingtondude58
anyways....i checked into Brownells, and that link to the other thread and the Lacquer Stik is the way to go.... i ordered red and white...red for the Noveske logo and Fire selection and White for Safe. Safe, nonmessy, and lasts a long time, even with hydrolic fluid....why there would be hyrdolic fluid in and or around my AR behooves me but u get the picture...“Out of every one hundred men, ten shouldn't even be there, eighty are just targets, nine are the real fighters, and we are lucky to have them, for they make the battle. Ah, but the one, one is a warrior, and he will bring the others back.” ~ Heraclitus
www.313Tactical.com
-
02-01-2010, 10:22 PM #16I am a Forum User


- Join Date
- Apr 2008
- Location
- Genesee County
- Posts
- 7,021
Although I've not done a gun, I've done work like this with a tiny (3-5 hair) brush and enamel paint. Steady hand with a magnifier, and you would be amazed the detail you can get with Testers model paint. (oh, and any tiny slips can be cleaned up with a wet Qtip if you do it quick enough) Originally Posted by SWMP15
-
02-01-2010, 10:26 PM #17I am a Forum User


- Join Date
- Mar 2009
- Location
- Hillsdale County
- Posts
- 321
Crayon.
Heat the receiver with a heat gun or hair dryer. Apply crayon. It looks professional, lasts, and isn't a pain to remove like most of the enamels that don't last a whole lot longer. With the crayon you just need to heat it back up and use a QTip to remove it. And no, it won't get hot like that during firing.
-
02-01-2010, 10:27 PM #18I am a Forum User


- Join Date
- Sep 2009
- Location
- Grand Rapids
- Posts
- 1,785
Why no crayon? White crayon worked great on my glock and holds up decent. What is the downside?
-
02-01-2010, 10:33 PM #19Closed Account Forum User


- Join Date
- Nov 2006
- Location
- Cleveland
- Posts
- 4,916
I use finger nail polish to witness mark the screws on my guns, so I can tell if anything is loosening up. It holds up better to solvents, oils, and heat than anything else I've tried.
I noticed last time that when I got some in the groove on a part, that it was very difficult to remove, even with nail polish remover. The surface came clean, but not the indent area. Sounds like that it what you want.
Paint the whole area, making sure to get it in the lettering good. Let it dry, then wipe off the top layer with a rag and some nail polish remover. I bet it turns out just how you want it.
-
02-01-2010, 10:41 PM #20I am a Forum User


- Join Date
- Feb 2009
- Location
- Redford
- Posts
- 4,463

|
|


 Reply With Quote


